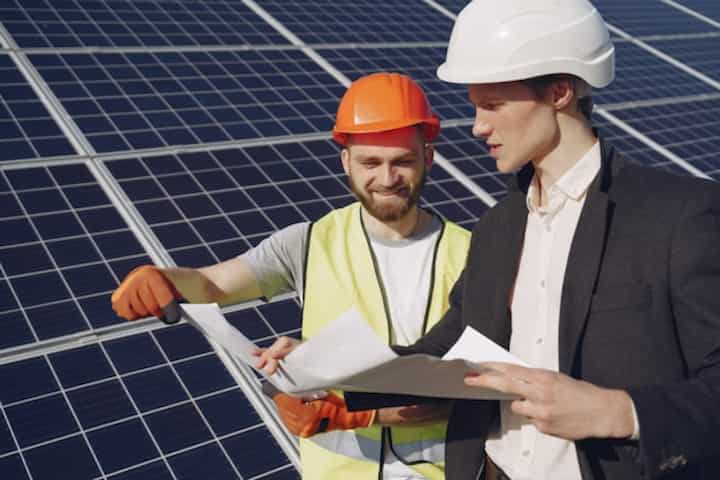
Streamlined Solar Power System Design and Installation
As the demand for renewable energy sources continues to rise, solar power systems have emerged as a leading solution for both residential and commercial energy needs. The design and installation of these systems are critical steps in ensuring they operate efficiently and effectively. Streamlining these processes not only enhances performance but also reduces costs and time involved. This article delves into the essential aspects of designing and installing solar power systems, offering insights and best practices for achieving optimal results.
Designing a Solar Power System
Site Assessment
The first step in designing a solar power system is conducting a comprehensive site assessment. This involves evaluating the location for solar potential and any possible obstructions such as trees or buildings that might impede sunlight. Tools such as solar pathfinders and shading analysis software are invaluable in this phase. Find additional information here.
System Sizing
Proper system sizing is essential to meet the energy needs of the property. This includes calculating the total energy consumption and determining the number of solar panels required. Factors to consider include:
- Average daily energy consumption.
- Peak sunlight hours.
- Panel efficiency and degradation rates.
Explore further insights here for a comprehensive understanding of system sizing.
Component Selection
Choosing the right components is crucial to the performance and longevity of the solar power system. This includes selecting high-quality panels, inverters, mounting systems, and batteries if storage is required. Learn more in this detailed guide.
Installation Process
Pre-Installation Checks
Before installation begins, it's important to perform several checks to ensure readiness. These include confirming all permits are approved, verifying the structural integrity of the roof or ground mounts, and ensuring all components are on-site.
Mounting the Panels
The installation process starts with mounting the panels securely. This involves:
- Installing the racking system.
- Ensuring optimal tilt and orientation for maximum sun exposure.
- Securing panels to the racking system.
Read more about this topic for detailed steps and considerations.
Electrical Connections
Once the panels are mounted, the next step is making the necessary electrical connections. This includes wiring the panels, connecting to the inverter, and integrating with the main power supply. Safety is paramount, and all work should be conducted by certified professionals.
System Testing and Commissioning
The final phase of installation involves testing and commissioning the system to ensure everything operates correctly. This includes:
- Testing voltage and current outputs.
- Monitoring inverter performance.
- Ensuring system compliance with local regulations.
Learn more in this detailed guide about the testing and commissioning processes.
Post-Installation Maintenance
After installation, regular maintenance is crucial to keep the system running efficiently. This includes routine inspections, cleaning panels, and checking for any wear and tear. Explore further insights here on maintenance best practices. Additionally, check out customer reviews here to understand the experiences of others with post-installation service.